In this tutorial, I’m going to show you how you can quickly and easily style and make changes to the buttons inside the SDF Page Builder inside the SEO Design Framework. To ensure cross-browser compatibility across multiple devices we’ve implemented the mobile-first Twitter Bootstrap front-end framework inside the SEO Design Framework to make the framework responsive as well as to implement the various components, such as CSS, icons, buttons, etc.
You can still append your own custom classes and implement them inside the builders RAW HTML module, but, for the sake of keeping things simple, the video above covers the basics and how you can either use the default bootstrap buttons and their respective hex colors or override them and apply your own fonts, background colors, radius’s, foreground colors and hover states while implementing them in the SDF Page Builder.
If you have the SEO Design Framework installed, you can simply open or download this text file, then copy the shortcodes inside the text file and then paste them into a new page or posts WP editor and publish to see what your color configurations are for each button.
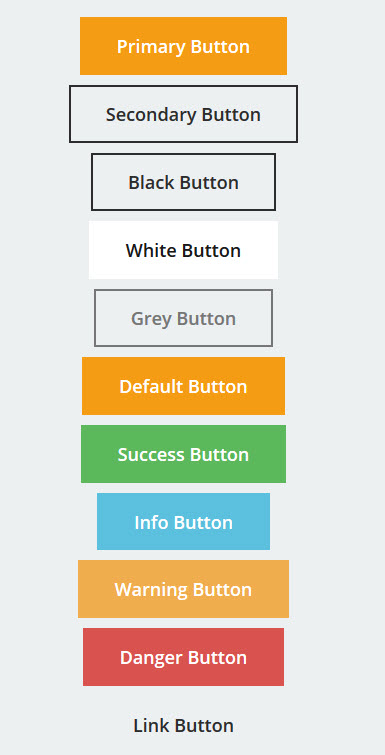
Here’s an example of how our buttons are configured on this site, but, when you use this shortcode on your SDF install it will showcase the colors you’ve actively selected from the styles section or depending on if you’re using an SDF Skin will determine the hex color states of each respective button.

Once again just:
1. Copy the shortcodes from this file (they are the syntax for the SDF Page Builder) and will only work inside the SEO Design Framework.
2. Create a new page or post.
3. Paste the code into that page.
4. Publish – and you can see your existing button colors.
Stay tuned for additional tips and tutorials for the SEO Design Framework. Until the next post. Over and Out.


this is very useful for beginners thank you